Latest Building Information
Some information about the set up and use of your R/C set
Just open the file below. Web copy has very small font - instead save the file and use Powerpoint to display it at a readable size.

|
Set up and use of your RC.ppt Size : 62 Kb Type : ppt |
Greg has just put a deck on a glass hull - some photos of the process will give you some clues
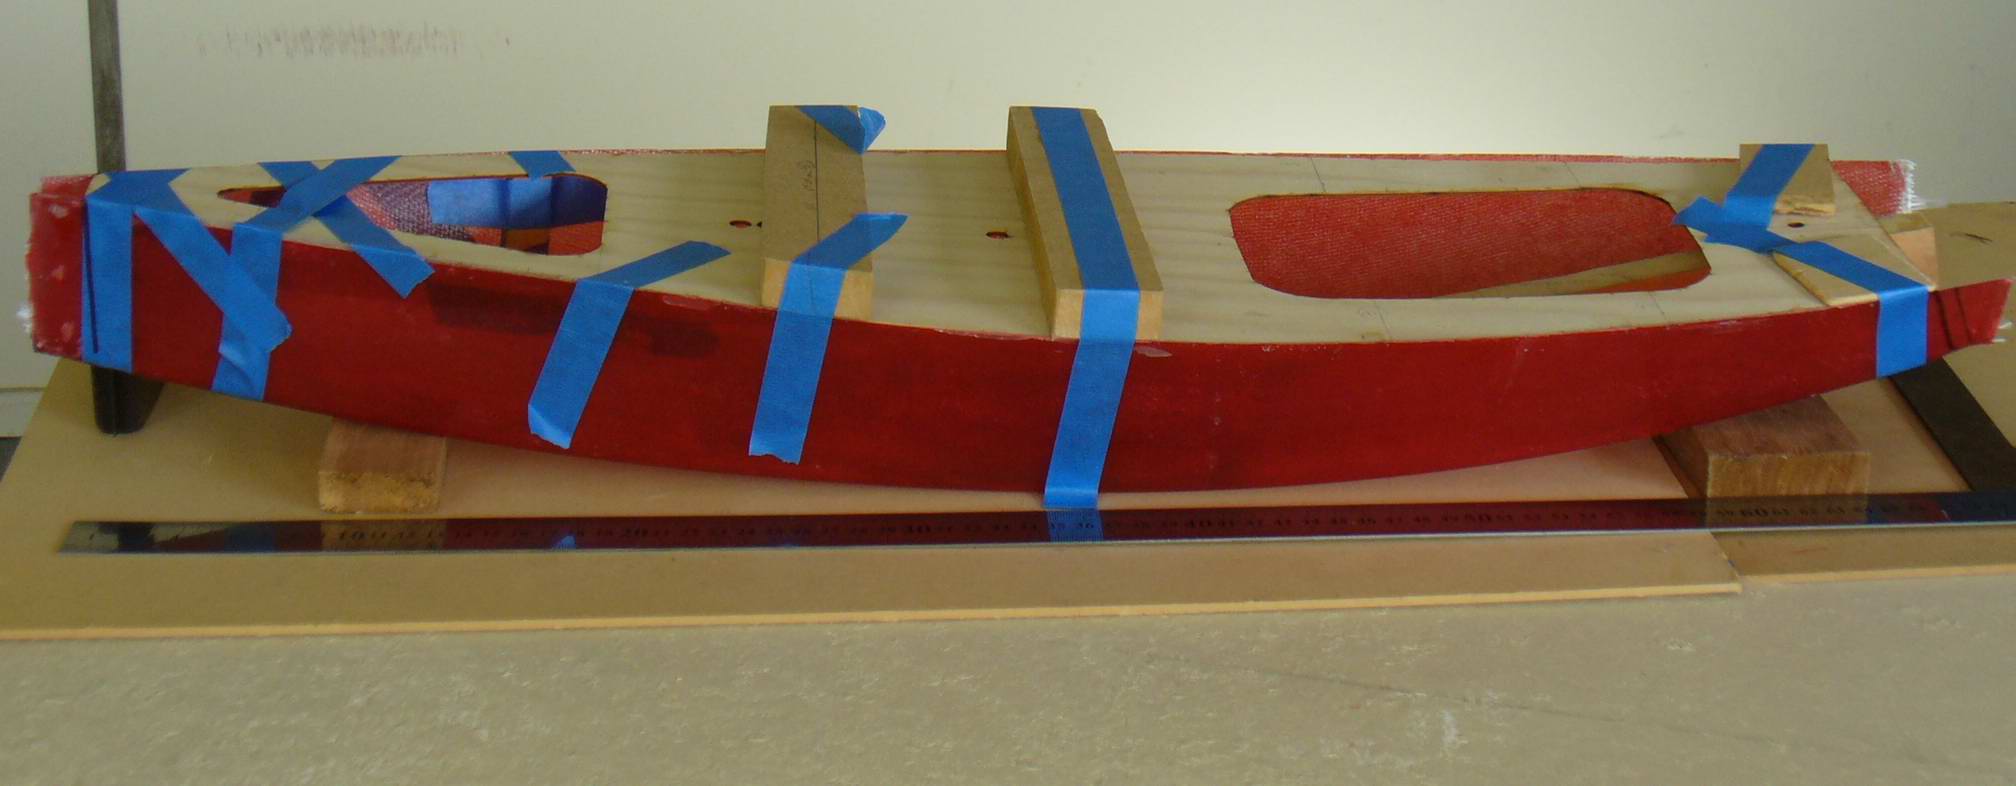
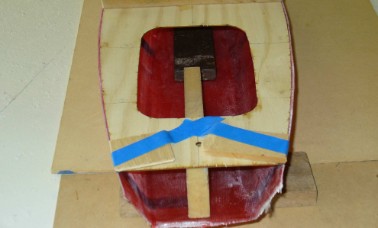
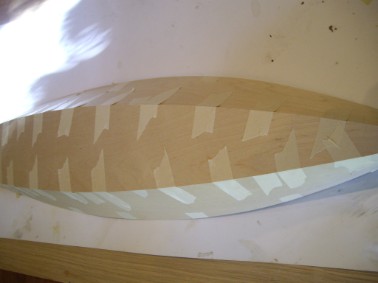
Here the skin is held so bow and stern heights are correct while blocks and tape hold the deck in the correct position, without hull twist while epoxy sets
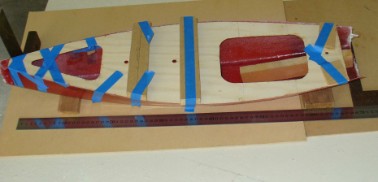
A view from above shows blocks and tape
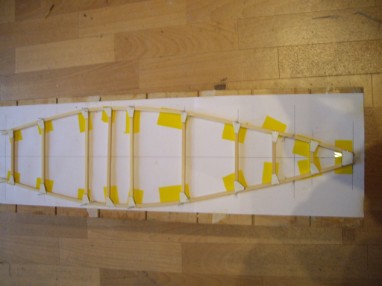
Bow marked prior to cutting and fitting ply bulkhead
Transom will be installed after deck set. Note Greg puts the deck inside the gunnel beams giving two surfaces on which to glue the deck. He says it takes a little extra time and effort but is well worth the effort.
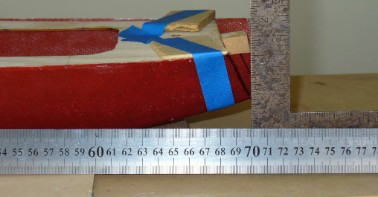
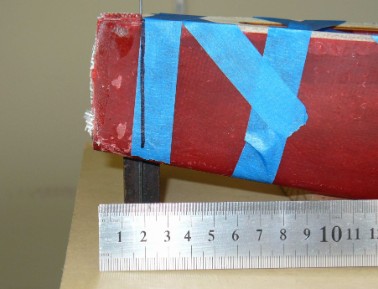
Stern marked to true length prior to fitting the transom
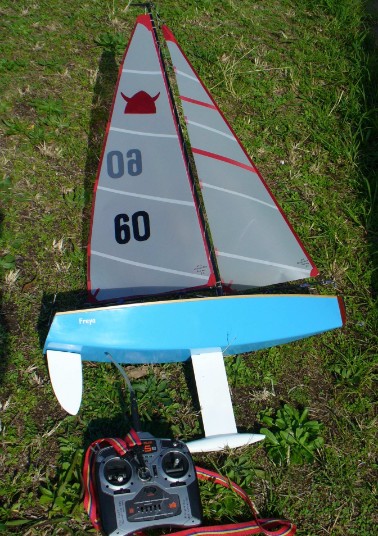
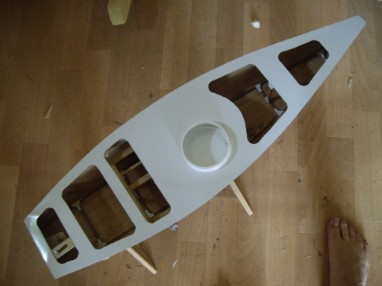
The finished boat looking very spiffy.
Building with 0.6mm Birch Ply
For the last few years our Nip group has tried various materials for building a hull. We all started with 2mm soft ply and found as many do that it is extremely difficult to cut and to join into an acceptable hull. The difficulty with the joints was to hold the bottom and sides together while gluing. The masking tape method was made difficult as the tape would pull away from the ply at the edges. A second material tried was 0.6mm Formica. It was easier to cut and bend to shape and the masking tape held the parts together better. The downside was that a decent impact on the water might result in a break. Formica remained excellent for the deck. A small group of sailors then spent a lot of time and some money making a male and female mould of the hull so it could be cast in fibre glass (FG). A good true hull could be pulled from the female mould at a weight of 250gms. A lighter hull could be moulded on the male mould using 'peel ply' at a lower weight, however both FG hulls suffered flexibility if built light and needed to be painted adding extra weight.
Finnish 0.6 birch ply seemed a good alternative material. Easy to cut around a set of good templates and light and strong enough to resist impact on the water. The problem of holding this floppy material in shape for gluing would be difficult. The first solution was to build a full frame from 4mm sq. timber and cover the frame with ply. This is time consuming and may lead to small errors in size and shape and it also adds some unnecessary weight. A second solution was found in utilising and old FG hull as a mould. From the photo below, a set of holes cut into the chine can be seen.
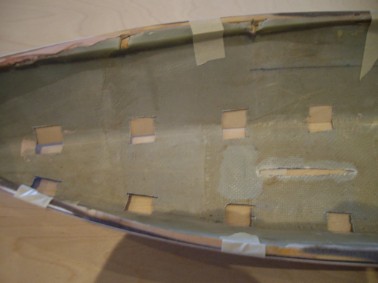
The ply sides and bottom can be taped to the mould and turned over to reveal a space to tack the sides to the bottom with epoxy
When removed from the mould the remainder of the chine glue can be filled in. The result is a hull where the angles between the sides and the bottom are as they should be even without adding deck beams.
From this point the building remains the same as previous builds by adding the gunnel rails and a limited number of deck beams.
To ensure added strength to the hull the inside has been painted with a super absorbing resin such as Everdure.
Drawings that might prove useful.

|
Nip Plans.PDF Size : 1339.683 Kb Type : PDF |
|
|
Internal Bits.PDF Size : 98.712 Kb Type : PDF |
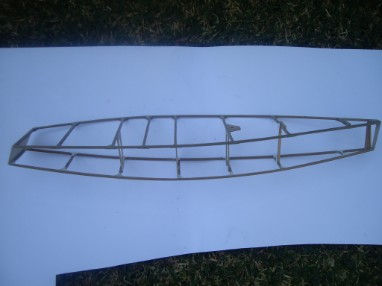
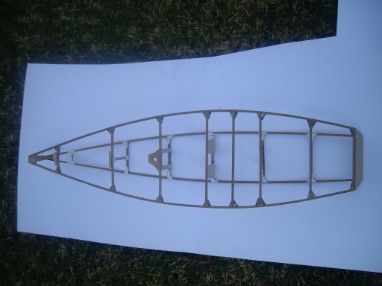
Photos of a frame built Ply Nip
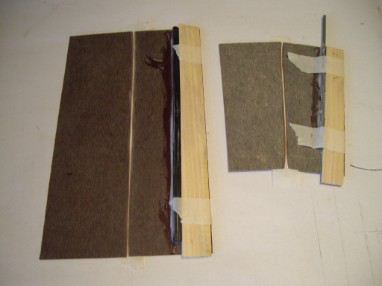
4mm x 4mm spruce frame with 0.6mm formica reinforcement
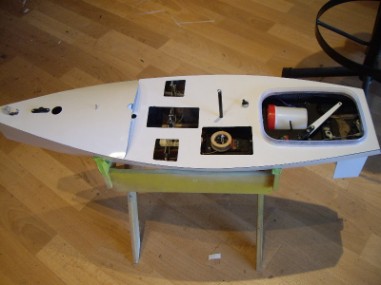
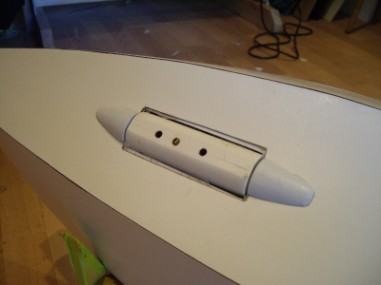
0.6 mm formica deck in place with 'vitamin bottle' radio and battery case.
Keel and rudder construction from 0.8mm formica- see PDF of the method.

Deck and bottom frame joined
Vertical frame view
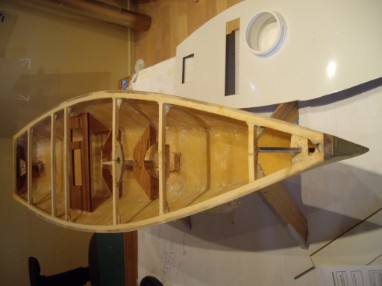
Internal View - this boat has a radial jib mounted on a stainless steel pin in the bow. note the deck adjacent, the radio box is fitted before fitting the deck.
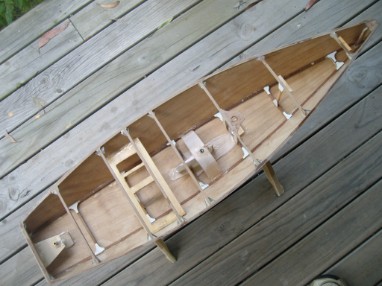
Ply boat internals are a bit different from the plans - note alternative method of bracing the keel. note also these boat do not have a removable keel - they are much easier to build and still fit into the car boot.
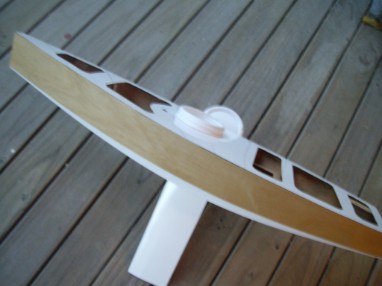
Not a clear photo of the finished hull - note 'fixed keel'
The Cant Wee
Here are some tempting photos of whats to come. This is a Mk2 (not to rule) called the 'Cant Wee' - have a look at the photos and guess how difficult it was to fit it all in.
The boat performed well - the rest of the club sailors did not! Their protests have left this boat on the shelf in the shed. It was fun to try.